Monster Mash Help
Quick Start
Follow these three steps to quickly become familiar with the basic usage of Monster Mash. See the rest of the page for more details.
Example Gallery
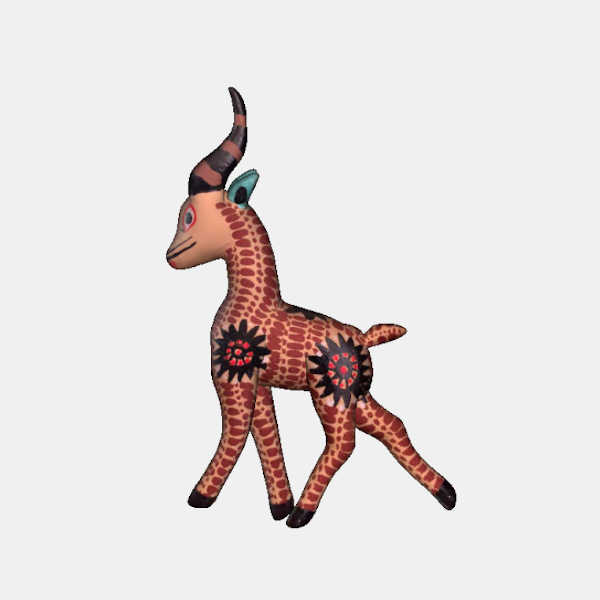
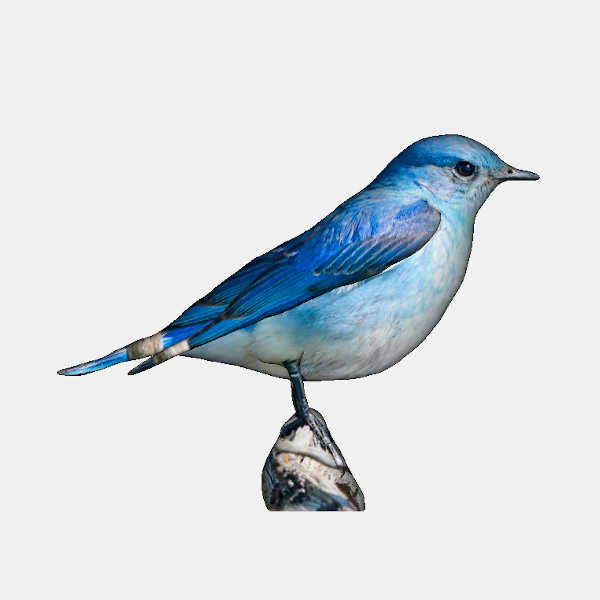
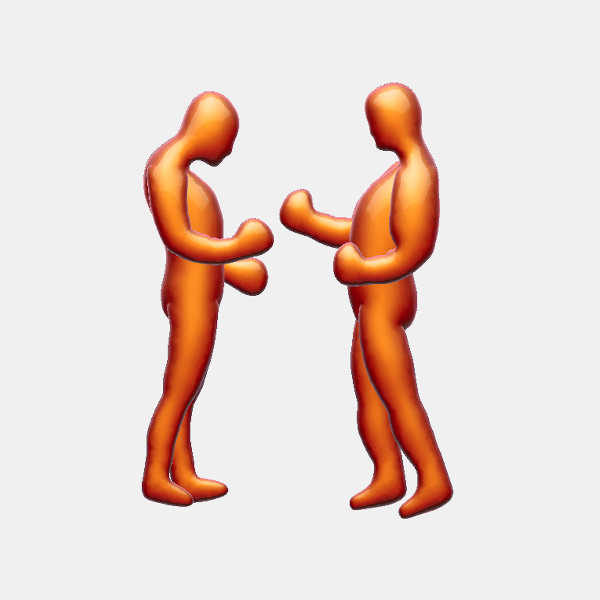
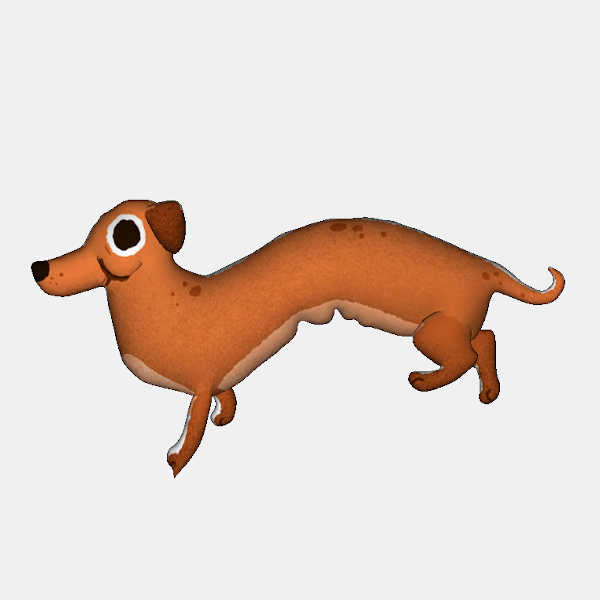
Click/tap on an example below to open it.
Give us Feedback
We have created a user forum for dissussions about Monster Mash which is available at forum.monstermash.zone. You can use it to share your results with us or to let us
know what you think about the tool. The forum code is  .
.
What's New
| August 28, 2022 | Added an option to create a layer from a mask image, which also opens up the possibility to create layers with holes. Learn more… |
| October 29, 2021 | Added an option to move layers in depth. Learn more… |
| April 30, 2021 | A new user forum for discussion about Monster Mash is available at forum.monstermash.zone. From now on, please use this forum instead of the older CGSociety thread. |
| March 9, 2021 | The entire textured animation can be exported to the glTF format, which allows importing the results into various 3D modeling software (tested in Blender). Read more… |
| December 15, 2020 | Added a link to a discussion thread about Monster Mash. |
| December 2, 2020 | The current animation frame can be exported to the Wavefront .obj file also with a material .mtl and texture .png files. Read more… |
Detailed Information
1. Getting Started
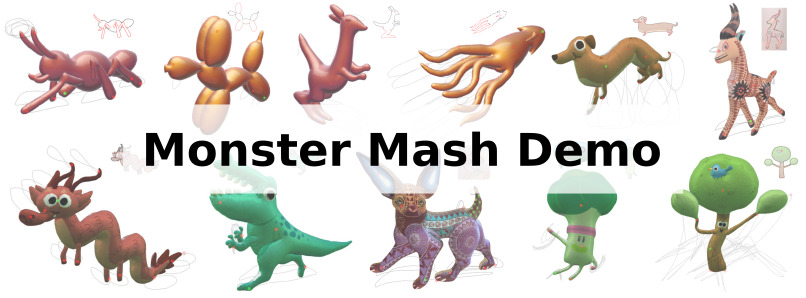
Monster Mash is a new sketch-based modeling and animation tool that allows you to quickly sketch a character, inflate it into 3D, and promptly animate it. You can perform all interactions in the sketching plane. No 3D manipulation is required.
This demo accompanies a paper Dvorožňák et al.: Monster Mash: A Single-View Approach to Casual 3D Modeling and Animation published in ACM Transactions on Graphics 39(6):214 and presented at SIGGRAPH Asia 2020 conference. The source code for this demo is available under the Apache-2.0 license. The demo is free to use for evaluation and research purposes.
1.1. Requirements
Monster Mash demo should work on any platform in a recent browser that supports WebAssembly & WebGL 1.0. The device should also have sufficient computational resources. If the Monster Mash demo is crashing on your device, please check if you have installed the latest version of the operating system and your favorite web browser.
Although the Monster Mash demo should also work on recent more powerful phones, it is preferable to use it on a tablet with a larger screen. The current user interface is not optimized for small screens.
Monster Mash demo can be controlled using a mouse, touch, or stylus. For the best experience, we recommend using a stylus on a tablet.
2. Creation Modes
The tool offers three basic modes of creation: Draw, Inflate, and Animate.
2.1. Draw Mode
In the mode, you can sketch a character part by part using strokes that delineate boundaries of individual regions. The order in which you create the regions corresponds to their relative order in depth. Each region's boundary is represented by a single stroke (opened or closed) that you can create using a click/tap-move-release sequence (using the left mouse button or a stylus/touch). Closed strokes delineate regions that represent the character's main body. Opened strokes are used for regions that are smoothly attached to other regions (e.g., limbs). The gap in the stroke is automatically closed by a line that outlines a junction along which the newly drawn region is smoothly connected to another region.
In addition to drawing strokes, you can click/tap anywhere inside the region to select it or double-click/tap to make its duplicate and place it behind already drawn regions. Selected regions can be deleted using the button in the menu. You can also select multiple regions by clicking/tapping and dragging a selection rectangle over them, or select/deselect them all in the sub-menu.
Now, let's try to create a simple monster. We start by scribbling the main body; then we add limbs and eyes. As we need limbs to be attached to the main body, we draw an open curve, and the system automatically connects it. To create limbs and eyes on both sides of the main body, we duplicate them using a double-click/tap.
2.2. Inflate Mode
The mode is useful for a quick preview of the resulting 3D model. You can rotate (middle mouse button) or pan (with shift pressed). If you are using a stylus/touch or you do not have a middle mouse button, you need to switch on the button in the main menu and use click/tap-move-release to rotate (left mouse button). When the button is off, you can play with the model by clicking/tapping on its parts and moving them around.
2.3. Animation Mode
After clicking/tapping on button in the menu the model can be animated by placing control pins on it and moving them around. Tap or click using left mouse button to create a control pin and drag it to make it move. Control pins can be selected by clicking/tapping on them and deleted using the button in the menu. You can also select multiple control pins by clicking/tapping and dragging a selection rectangle over them. Alternatively, you can select/deselect all control pins or change their visibility in the sub-menu where you can also use option Copy selected animation and Paste animation to transfer already recorded motion to other control pins.
The position of multiple control pins can be recorded in time and played back to create more complex animation. To activate the recording, press the button (it will turn red). Then by tapping or clicking on a control pin, the recording starts and stops when the mouse button, touch, or stylus is released. The animation can be paused and played back again by pressing the and button.
The system uses a simple strategy the synchronize the motion with other pins. The first pin motion you record will define the length of the entire animation cycle. A pin that corresponds to this master motion is marked with green color, and its position in the first frame is denoted as a bold black dot laying on its recorded motion trajectory. The system automatically starts the motion of a new recorded control pin at a frame that corresponds to the currently played frame of the master pin. You can shift this relative position in time using plus and minus keys on the keyboard.
2.4. Redraw Mode
The button has a special Redraw option, which you can use to alter the shape of existing regions by re-sketching them without modifying their relative depth order. To do that, you can select a region that you want to change and redraw it. Note that it is necessary to redraw the entire shape of the modified region.
3. Create/Open/Save/Export Project
Monster Mash demo starts with a new empty project. You can always get back to this initial state by clicking/tapping on the button in the main menu. You can also open an existing project from your local hard-drive using the button or load some of the examples visible on this help page. When you create an animated 3D model, you can save it onto your local hard-drive using the button.
Optionally, you can upload a template image (using button's option Import template image…) over which you can then trace. This template image will also be used as a texture of the final 3D model. Alternatively, you can also upload a background image (using button's option Import background image…) which will replace the default white background. You can show/hide the template image as well as your custom background by checking/unchecking their visibility in the sub-menu or alternatively switch on/off the shading effect using Enable shading option. Note that the supplied images will be scaled to fit the canvas if they have a resolution other than 1000x800. If you don't want any scaling, please stick to the specified resolution.
If you would like to use an external image editor to prepare layers for Monster Mash, you can use Create layer from mask… in the button's sub-menu. This option expects the supplied image to either have an alpha channel, of which fully transparent parts are treated as background, or in case alpha channel is missing, black color is supposed to denote background. You can load multiple layers this way, which are stacked on top of each other. You can then move layers as needed using hot keys. Note that the supplied image will be scaled to fit the canvas if it has a resolution other than 1000x800. If you don't want any scaling, please stick to the specified resolution.
When you already draw a shape in the Monster Mash demo which you would like to texture, use button's option Export a template image…. This option allows you to save an image of the current shape on your hard-drive over which you can then draw using your favorite drawing/painting tool and then upload it back using the button's option Import template image….
Export to OBJ file. The current animation frame can be exported to the Wavefront .obj file by selecting Export the current animation frame as .obj file… from the sub-menu of the save button . If a template image is mapped to the mesh and Show template image option in the sub-menu is checked, a material .mtl file with a .png texture image is also exported.
Export animation to glTF. The entire textured animation can be exported to the glTF format (.glb file), which allows importing the results into various 3D modeling software (tested in Blender). To access this feature, switch to the mode and select Export animation as glTF (.glb file)… from the sub-menu of the save button . The export first generates the file in the memory which may cause Monster Mash to crash if the animation being exported is too large. Therefore, make sure to save the project before exporting it. The exported file may be directly imported into a recent version of Blender. After importing the file, make sure to turn on the texture projection in the Viewport Shading menu in Blender. Individual animation frames are exported as Morph Targets, which are converted to Shape Keys in Blender. Note that the resulting animation is vertex-based, i.e. keyframed animation of individual vertices of a mesh (opposed to the traditional skeleton-based animation).
4. Other Settings
In the sub-menu, there is also an Other settings option where you can enable/disable experimental armpit stitching algorithm and normal smoothing of the resulting 3D mesh.
5. Mouse buttons
 |
|
|
 |
|
|
 |
|
6. Hot-keys
| N | Start a new project. | |
| Ctrl + O | Open an existing project. | |
| Ctrl + S | Save a current project. | |
| 1 | Switch to Draw Mode. | |
| 2 | Switch to Inflate Mode. | |
| 3 | Switch to Animate Mode. | |
| E | Switch animation recording mode on/off. The actual recording of pin position will start after clicking/tapping on a pin and stop after releasing. | |
| Space | Play/Pause animation. | |
| H | Switch display of control pins on/off. | |
| Ctrl + C | Copy a selected animation. | |
| Ctrl + V | Paste animation to all selected control pins. | |
| Ctrl + A | Select all parts or control pins. | |
| Esc | Deselect all parts or control pins. | |
| Delete or Backspace | Remove selected part or control pin. | |
| + | Offset control pin animation forward in time. | |
| − | Offset control pin animation backward in time. | |
| PgUp | Move selected layers one step closer in depth. | |
| PgDn | Move selected layers one step further in depth. | |
| Home | Move selected layers closest in depth. | |
| End | Move selected layers furthest in depth. |
Older Versions
Monster Mash v.
